-
28강 엑셀 조건부서식 5분 핵심정리엑셀 배우기/오빠두엑셀 챌린지 2024. 5. 1. 16:26
엑셀 조건부서식, 5분 핵심 정리 | 진짜쓰는 실무엑셀 - 오빠두엑셀
강의 자료 Chapter 3-4. 조건부서식으로 데이터 분석하기 페이지 안내 엑셀 기초 조건에 맞는 값을 찾아 서식을 지정하는 조건부 서식 135 Page 실무 활용 특정 값보다 크거나 작을 때 강조하기 137 Page
www.oppadu.com
엑셀로 보고서를 작성하면
1. 데이터관리
2. 보고서 작성까지 한번에 해결 가능
조건부 서식을 이용하면 아주 간단하게 보고서를 "자동화 + 시각화" 가능
학습목표: 엑셀 보고서 시각화 핵심스킬
조건부서식 기초 5분 핵심정리
1. "조건부서식"은 무엇인가요?
조건부서식
= 조건을 만족할 때 셀의 서식을 자동으로 바꿔주는 기능
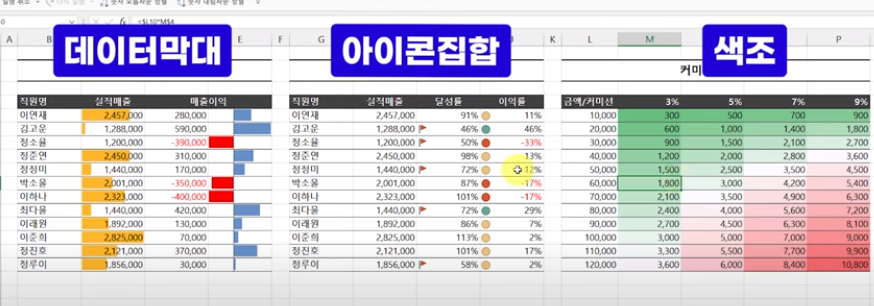
화면에 보이는 것처럼 데이터 막대, 아이콘 집합, 색조 등으로 보고서를 자동으로 시각화 가능
+조건부 서식을 사용하면 특정 값을 자동으로 강조하는 자동화 보고서를 만들 수 있음
조건부 서식 장점))
-마우스 클릭만으로도 초보자 누구나 쉽게 따라하고 업무에 적용 가능
--> 다음 강의에서 다루는 '시각화' 기능도 꼭 시청하기
2. 조건부서식1 - 특정 값보다 크거나 작을 때 강조하기
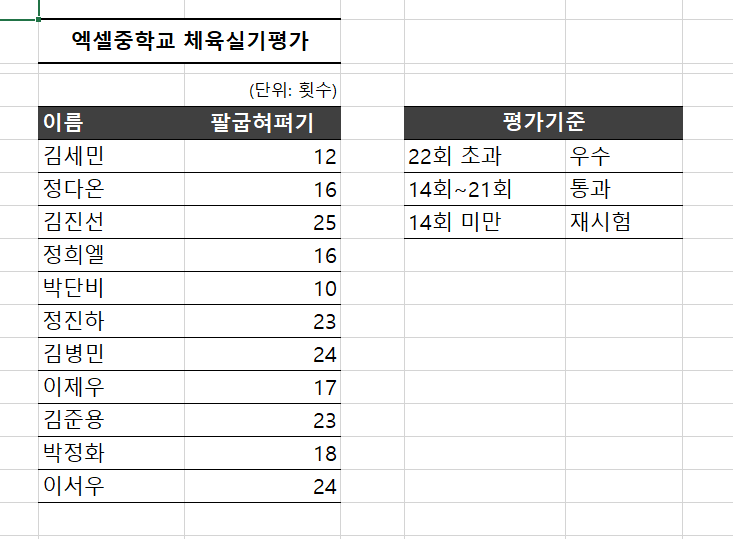
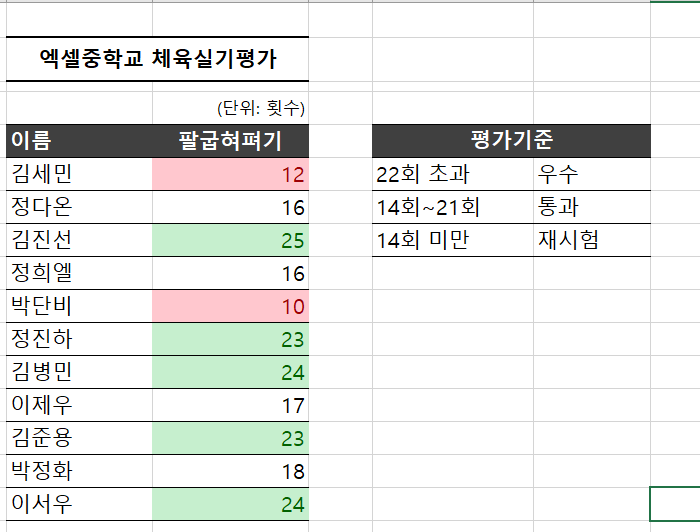
전과 후 22회 초과일때는 초록
14회 미만일 때는 빨간색으로 강조하기

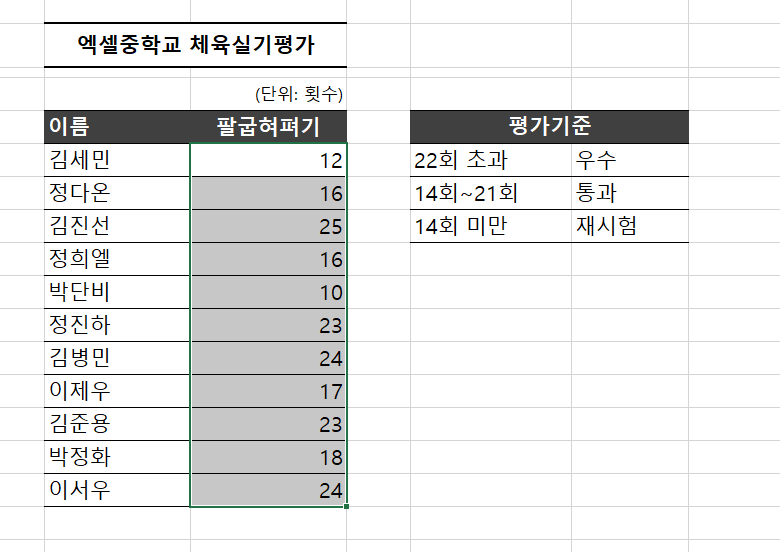
1단계: 서식을 적용할 범위 선택하기
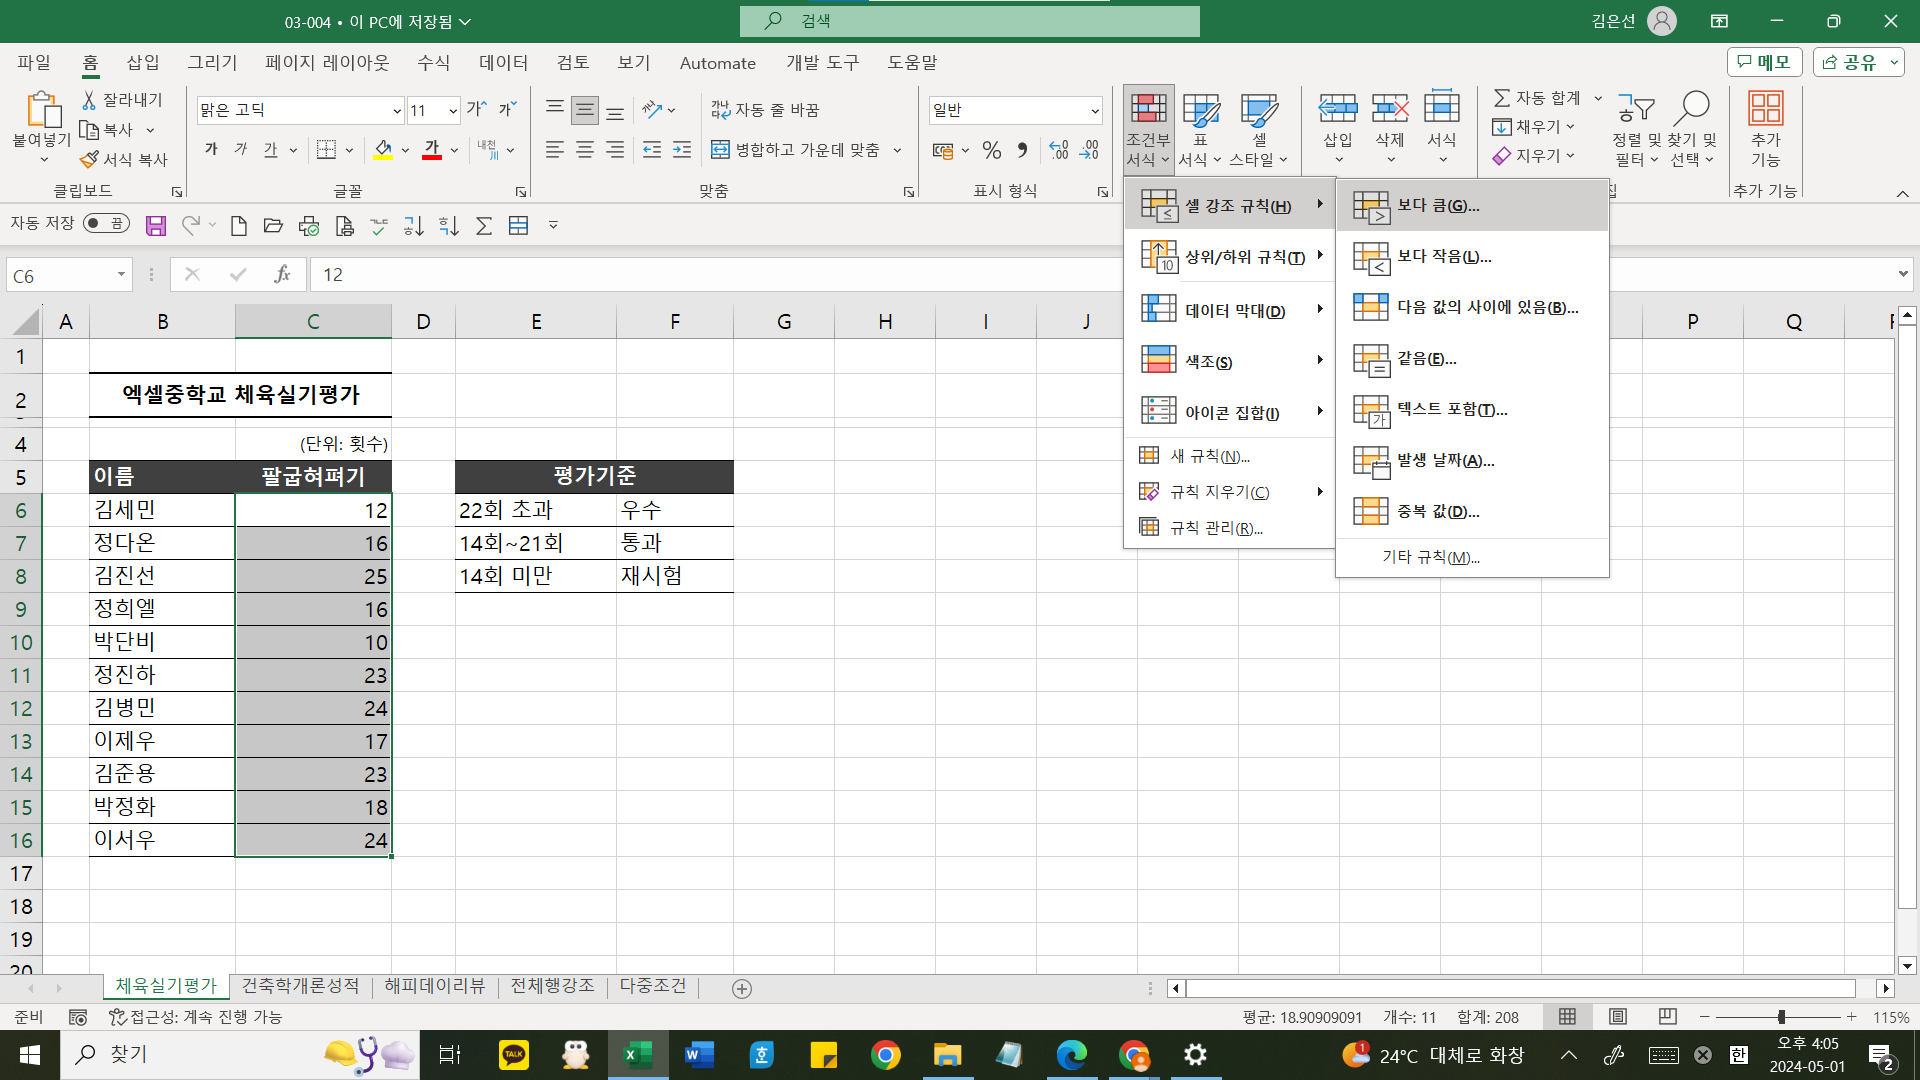
2단계: 조건부 서식 ▶ 셀 강조 규칙 ▶ ~보다 큼
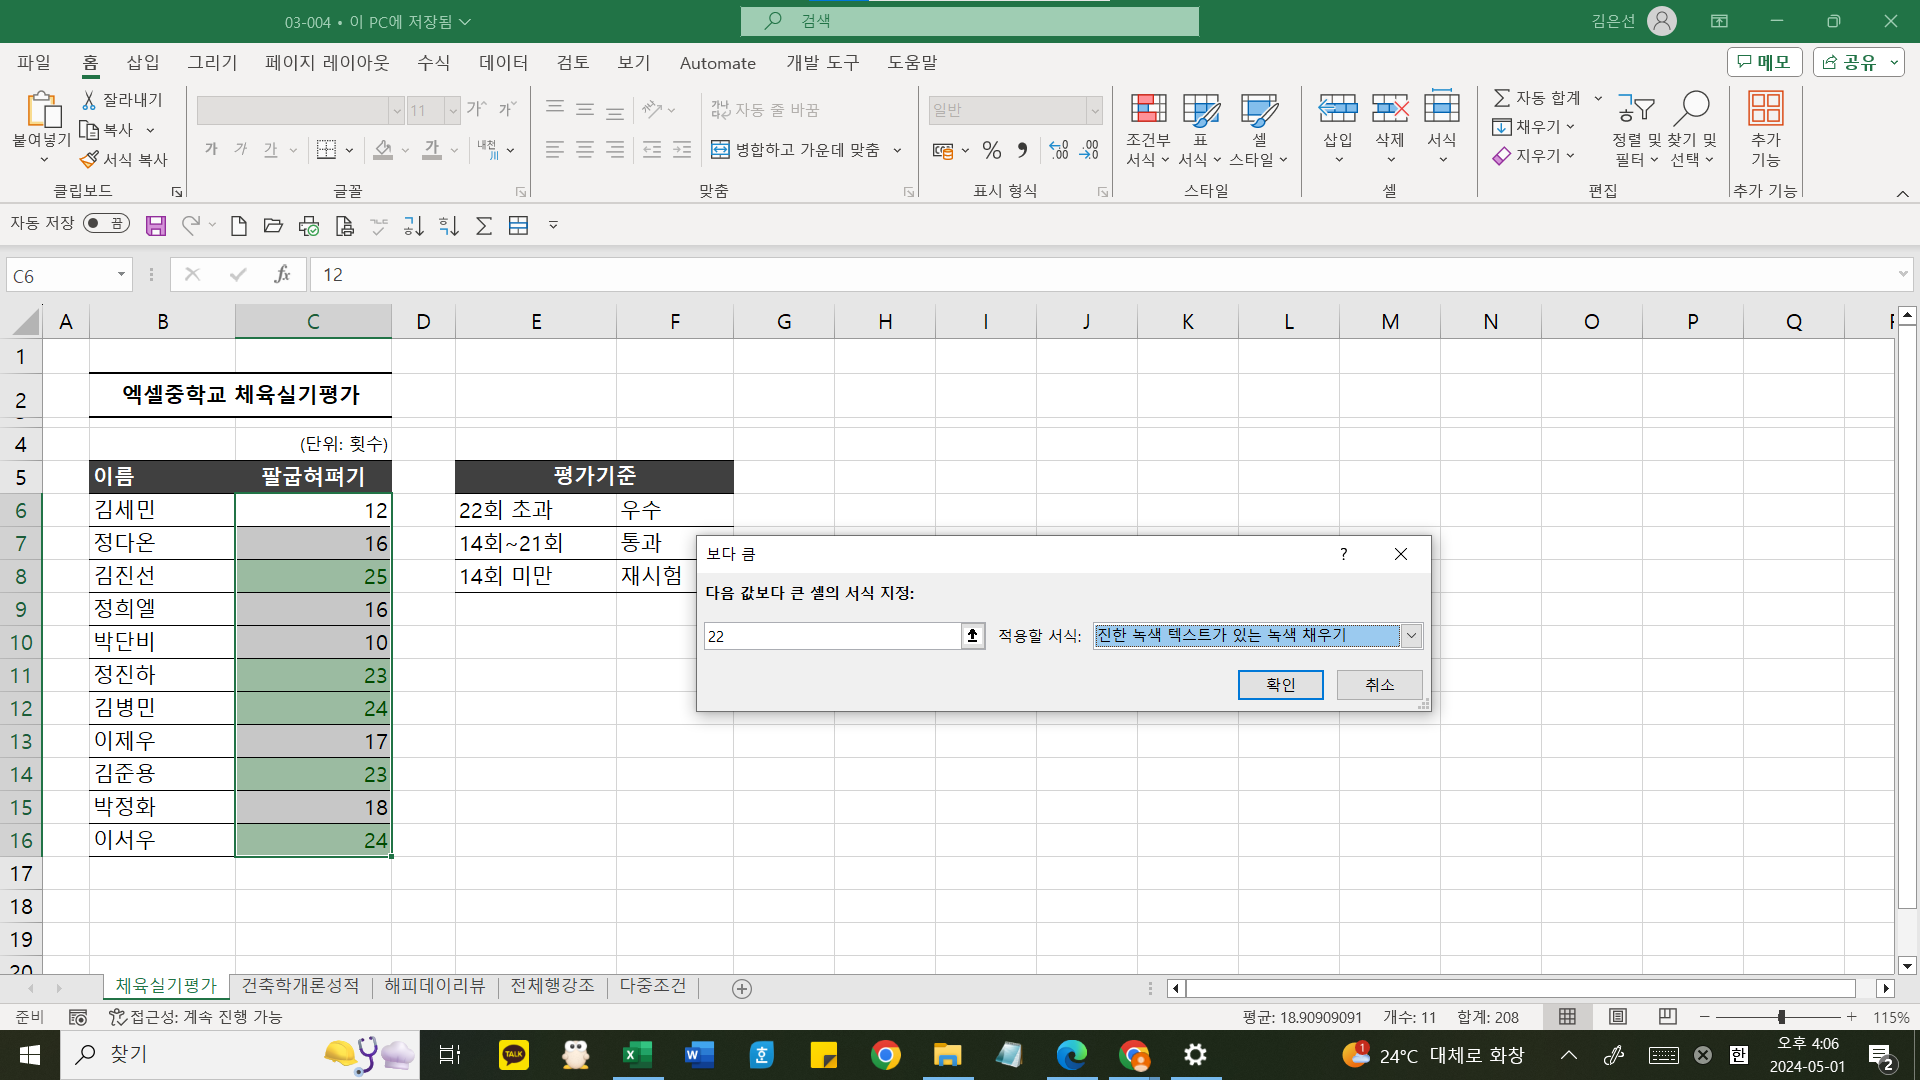
3단계: 22 입력 후 오른쪽에 적용할 서식 선택

14회 미만일 때도 동일한 방법으로 조건부 서식 적용하기
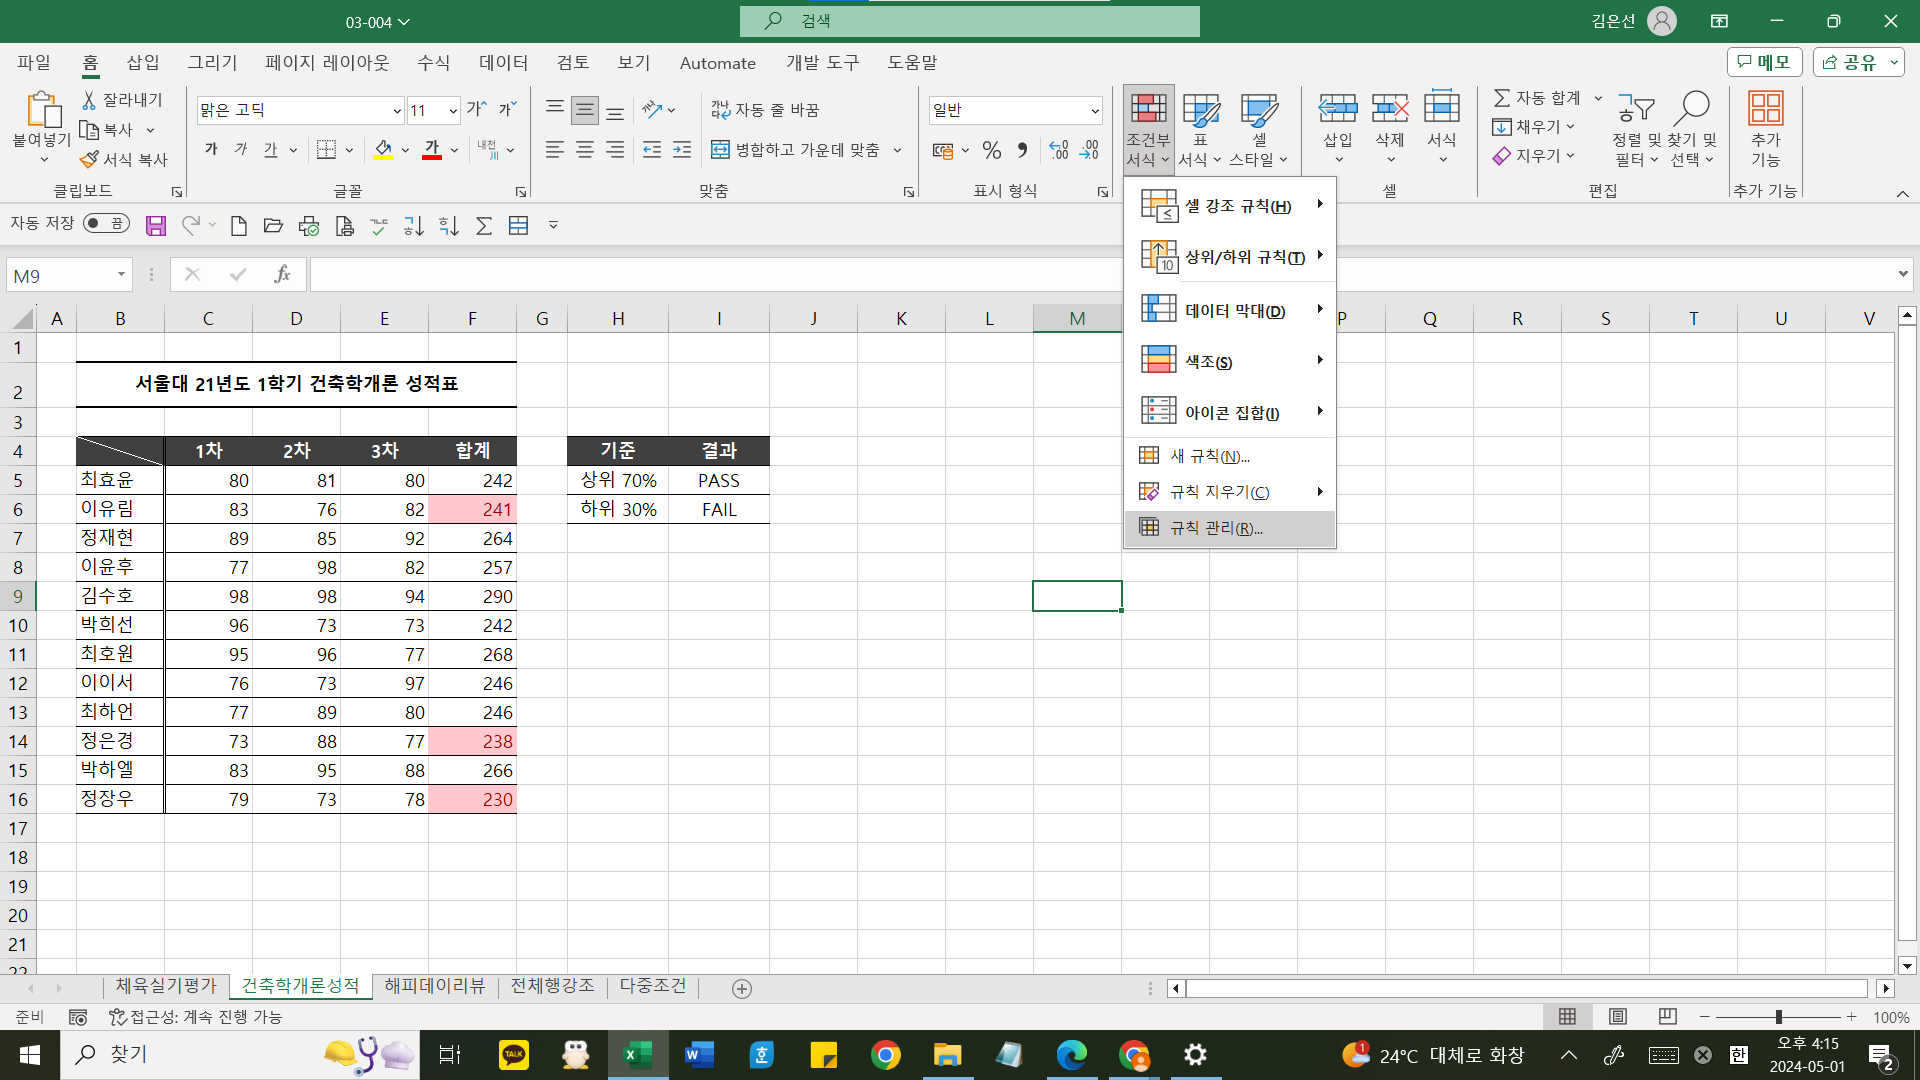
**조건부 서식 수정하기
-적용한 조건부서식은 [규칙관리]에서 수정하거나 삭제 가능
**조건부 서식의 장점
-안에 있는 숫자를 바꾸면
조건부 서식에도 바로 업데이트
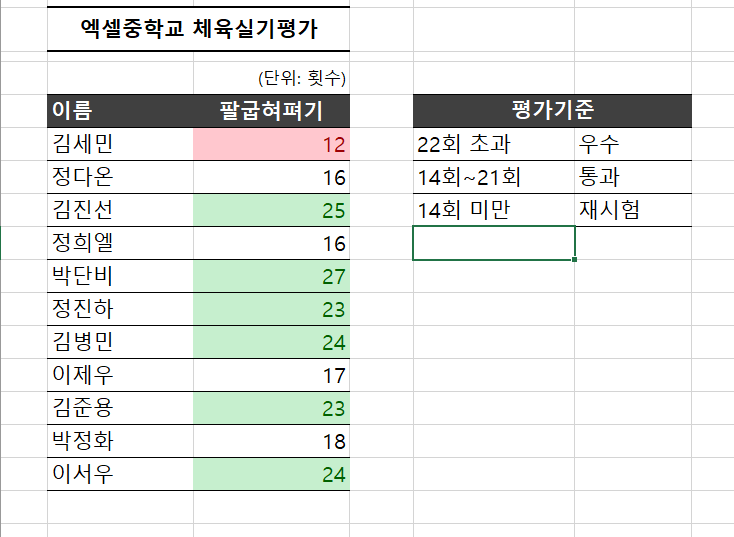
값 변경 전과 후 박단비 값 바꿈
3. 조건부서식2- 하위 n% 항목 자동으로 강조하기
예) 하위 30%만 강조하기
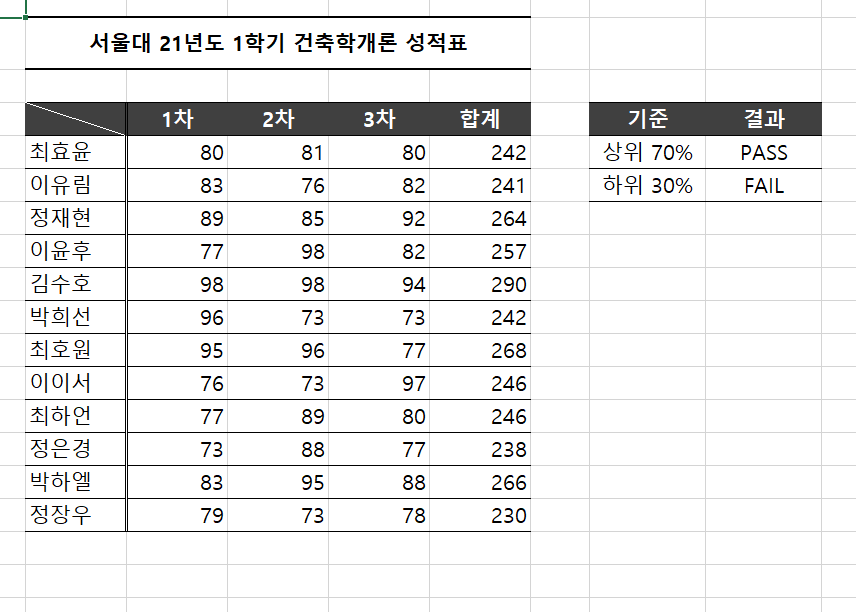
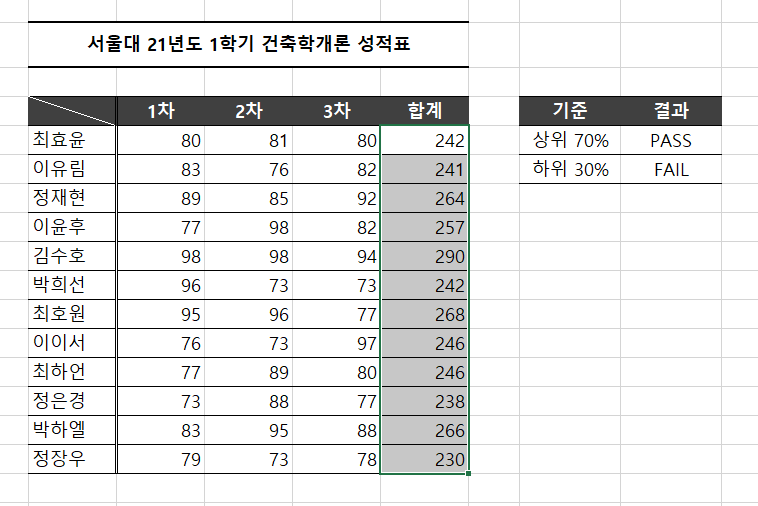
전 과 후 1단계: 강조할 범위인 합계 범위를 선택
2단계: 조건부서식 ▶[상위/하위 규칙] ▶ [하위 10%] 선택
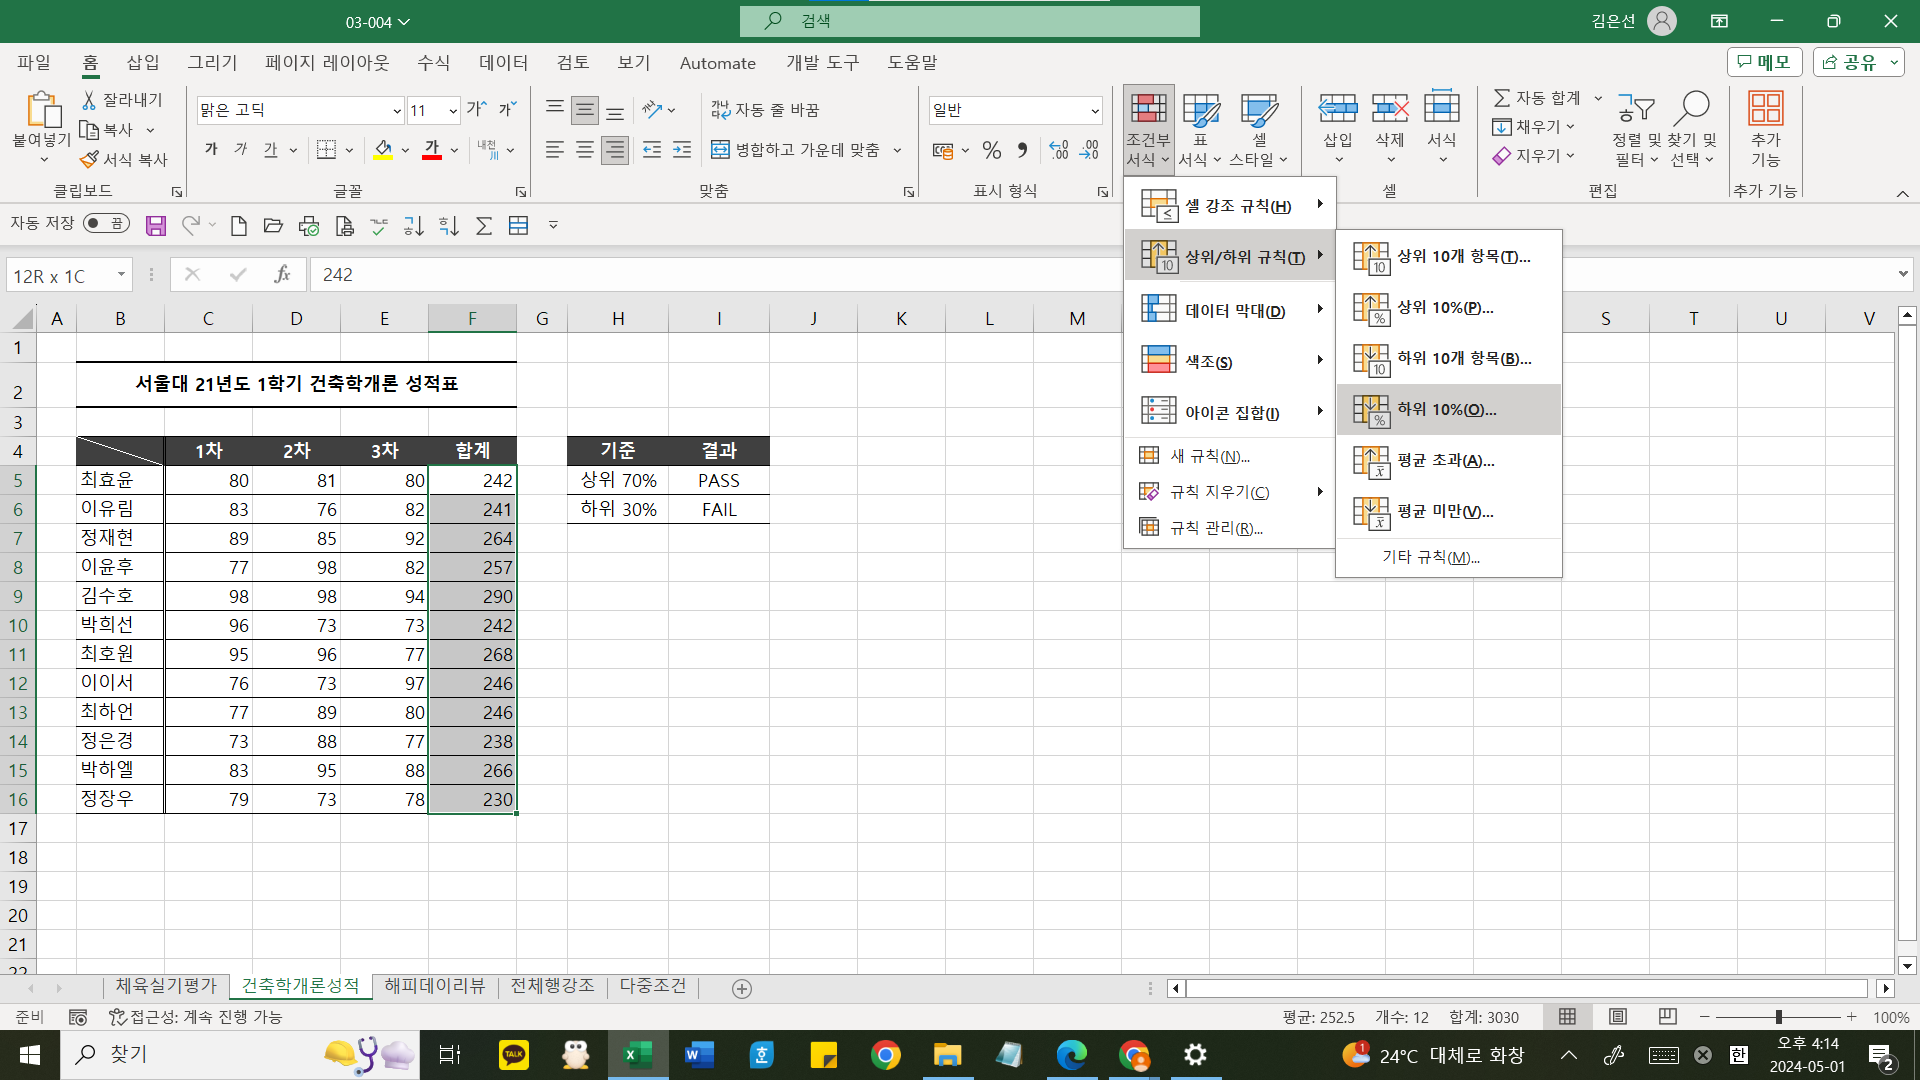
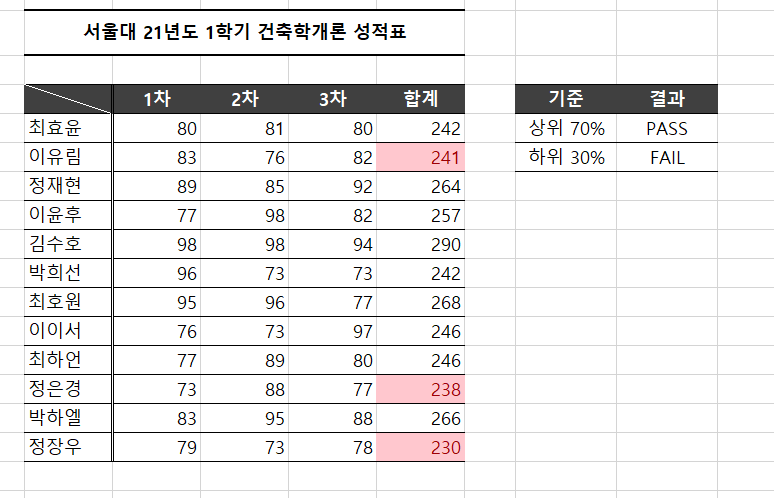
3단계: 입력된 값을 30%로 바꿔주기
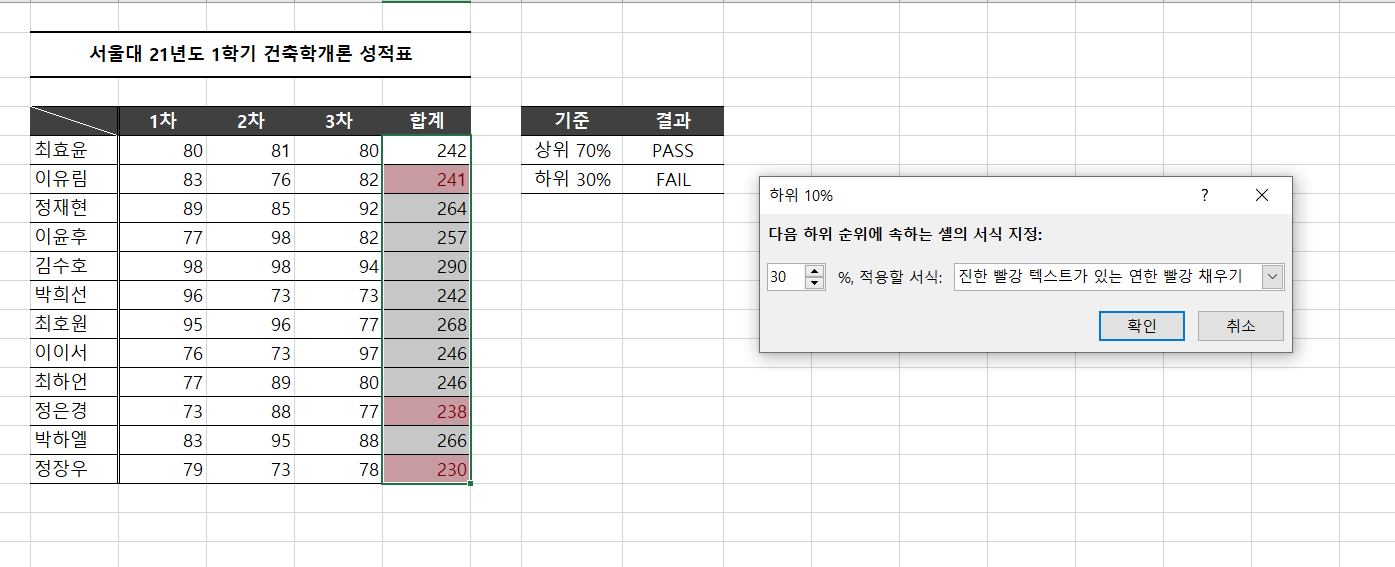
4단계: 확인 눌러서 마무리하기
4. 조건부서식3- 특정 단어를 포함하는 셀 강조하기
예) 풍선이라는 단어가 포함된 셀을 강조하기
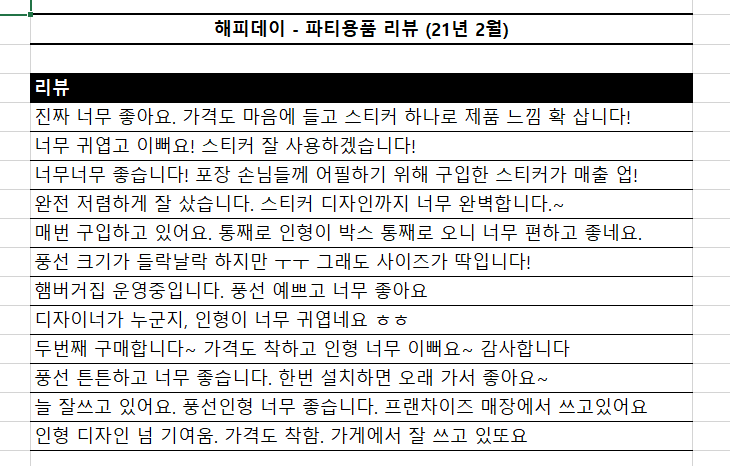
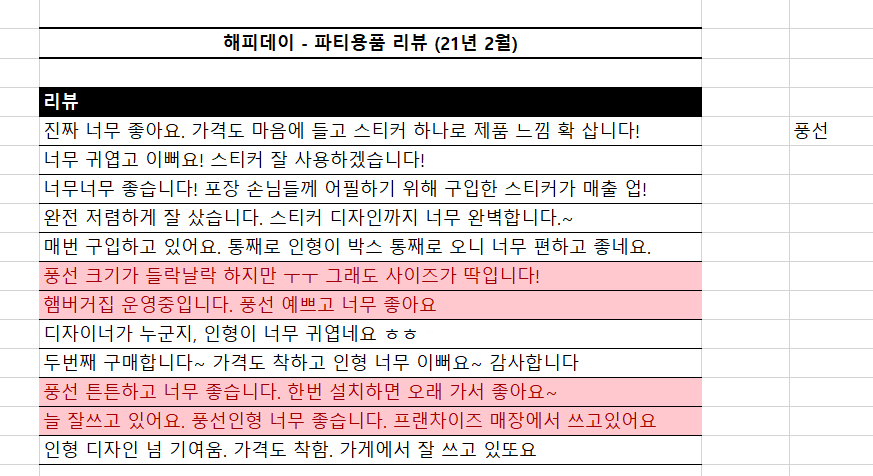
전 과 후 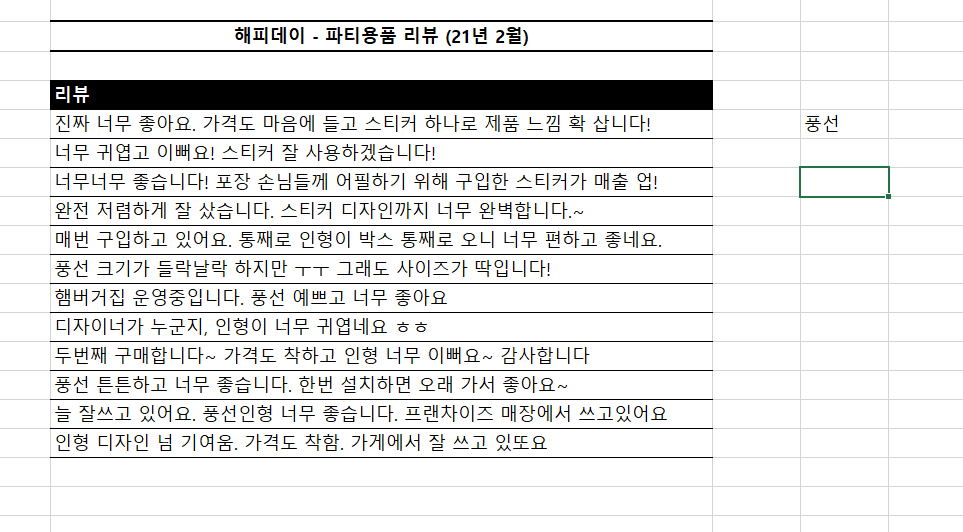
1단계: 임의의 셀 D5 선택하고 "풍선"이라고 입력하기
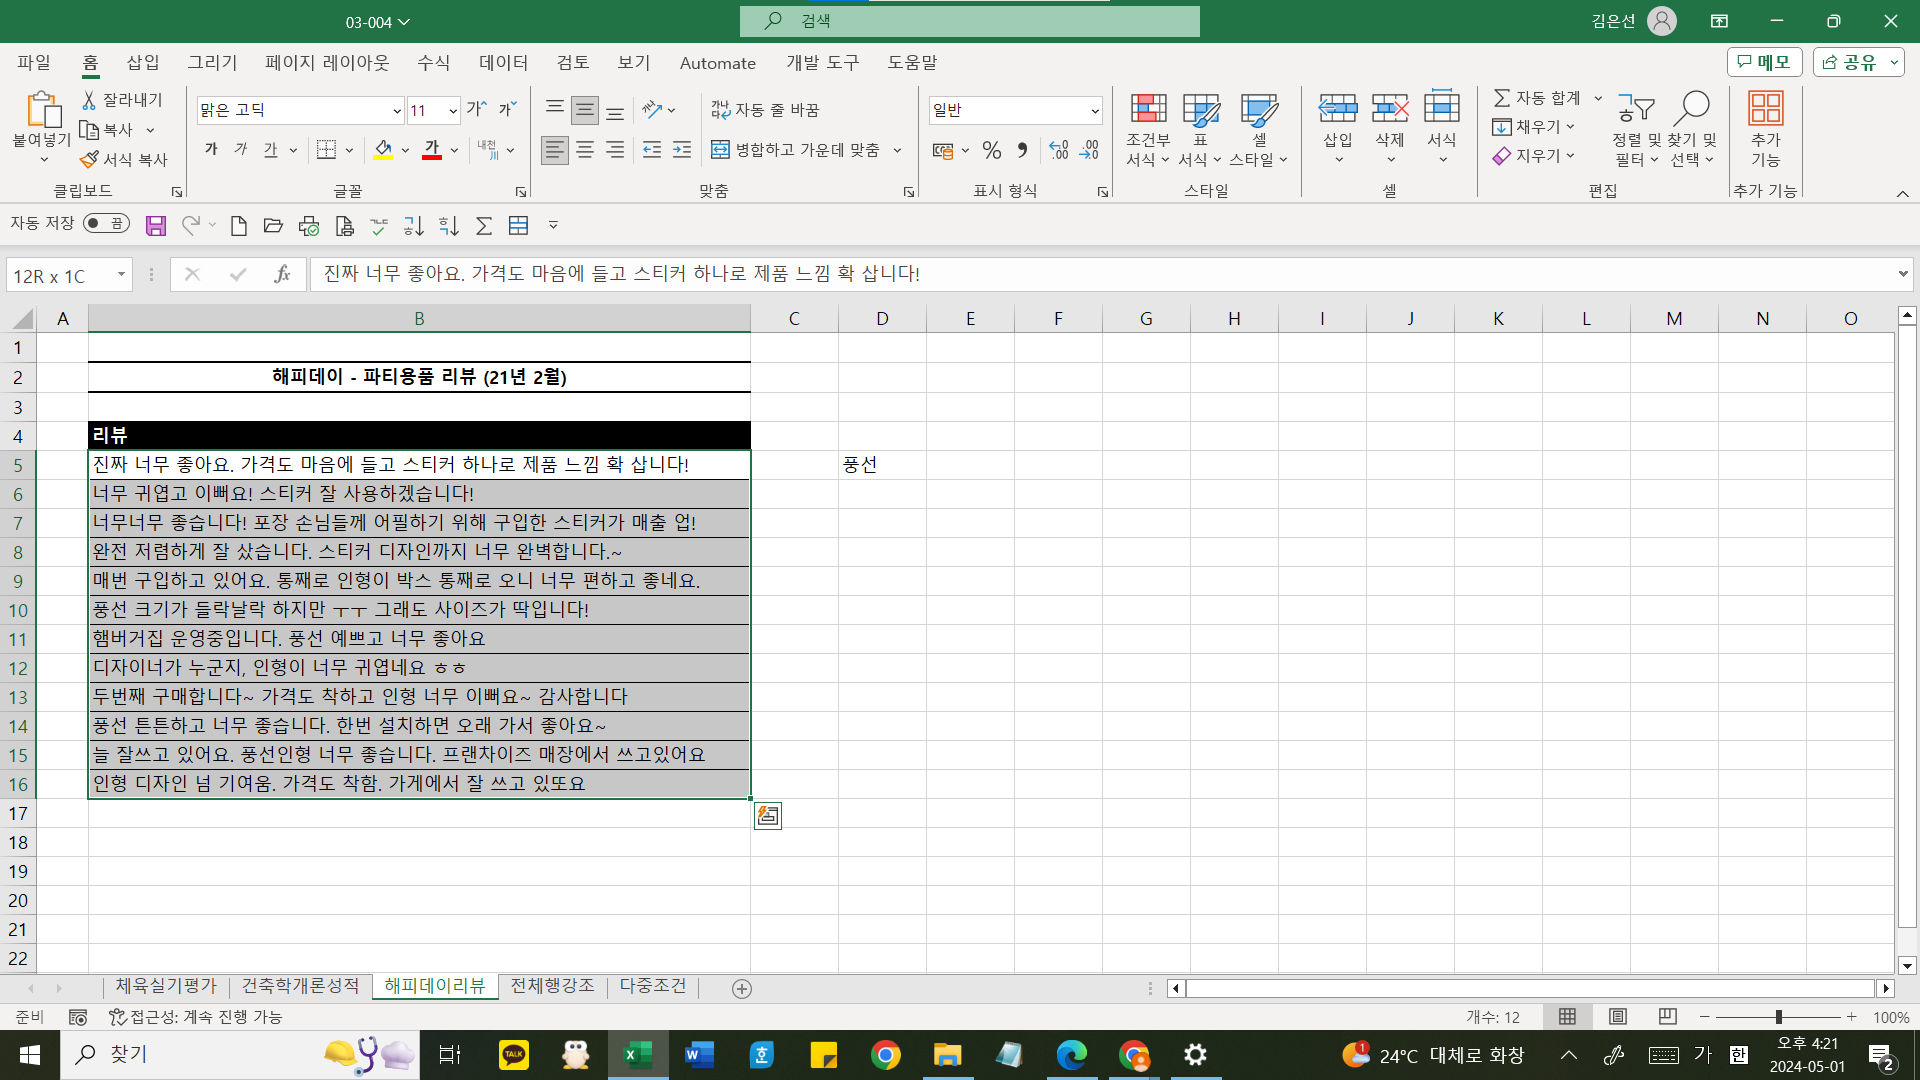
2단계: 리뷰가 입력된 B5셀부터 B16셀까지 선택하기
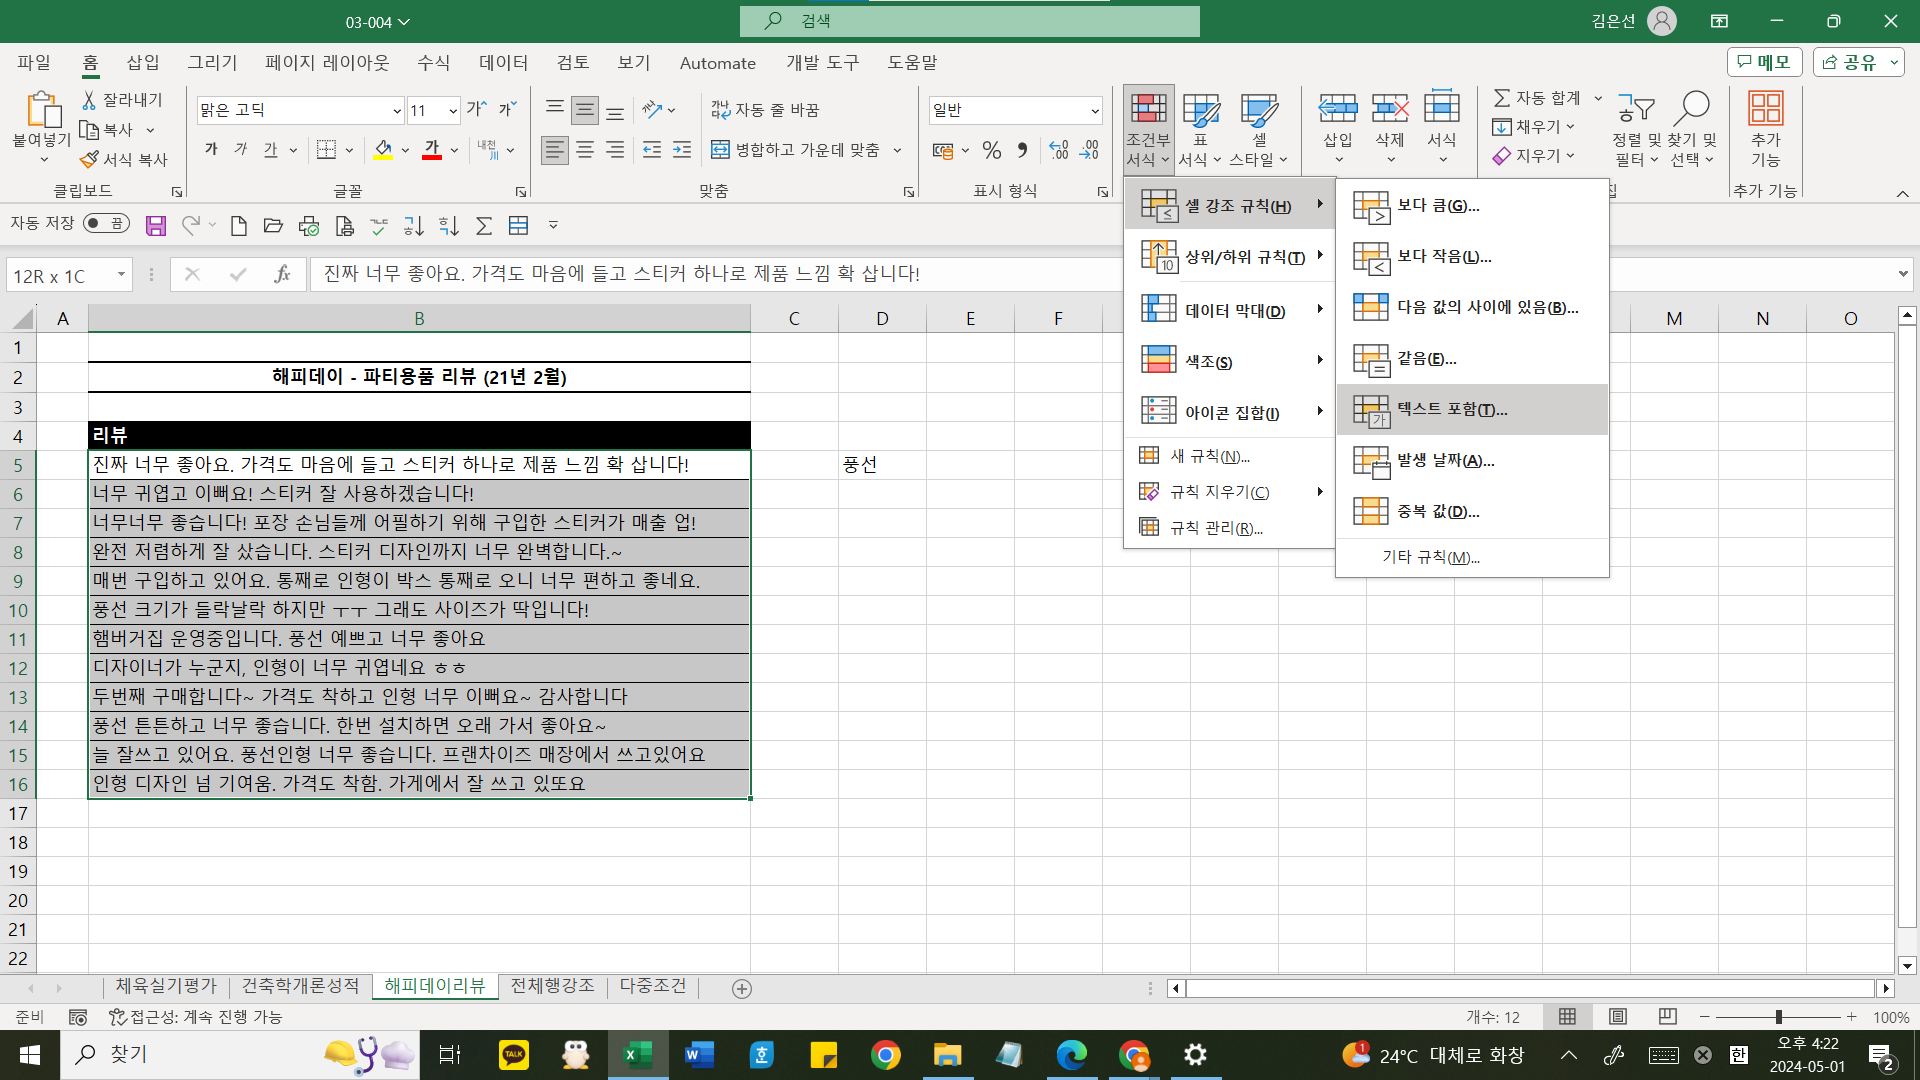
3단계: [조건부서식]-[셀 강조 규칙]-[텍스트 포함] 선택
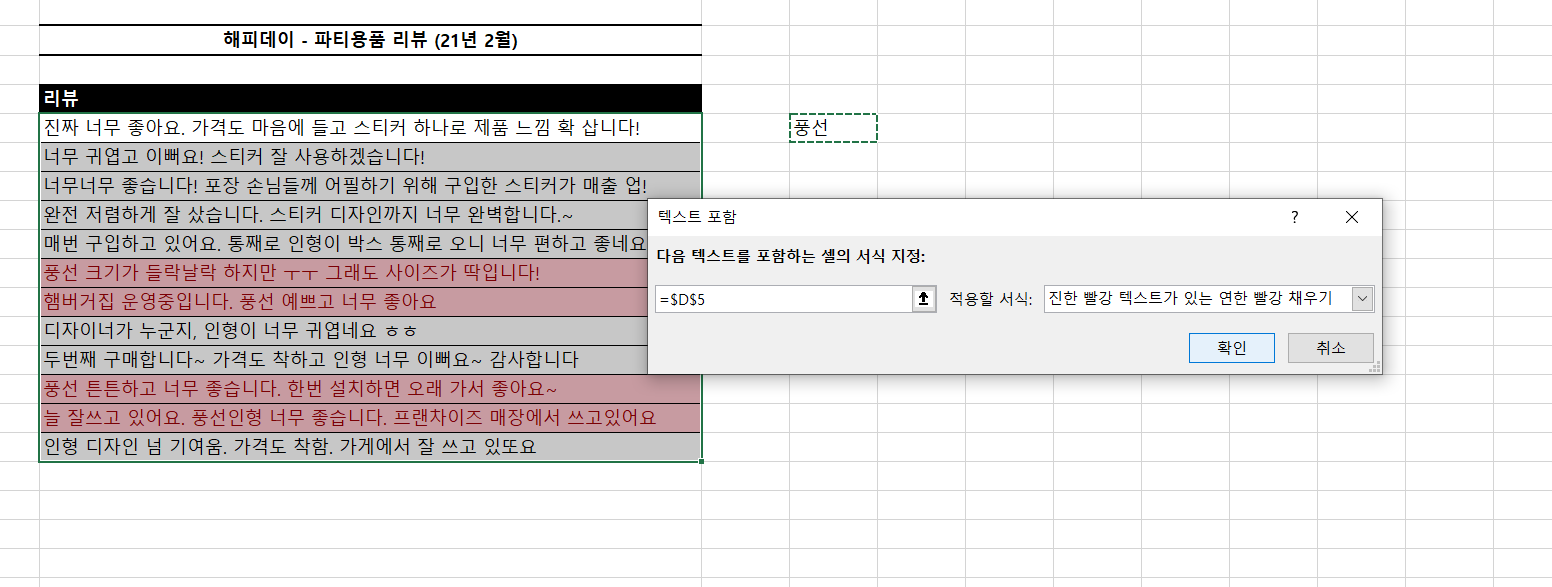
4단계: D5셀 선택 (안에 입력된 값 지우고) 확인
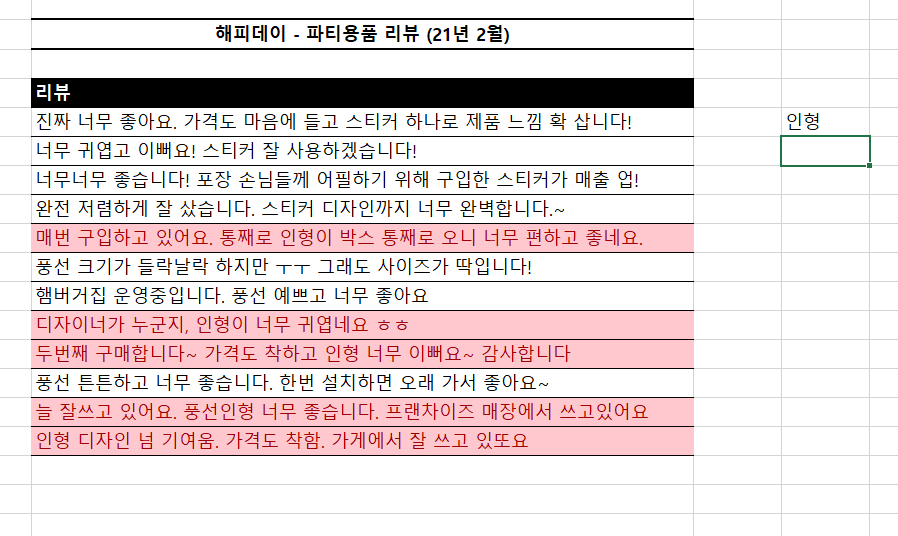
조건부 서식 팁)
강조 텍스트를 바꿔도 자동적으로 업데이트 됨
'엑셀 배우기 > 오빠두엑셀 챌린지' 카테고리의 다른 글
30강) 조건부 서식- 다중 조건 실시간 강조하기 (AND 함수, OR 함수 사용) (1) 2024.05.01 29강) 조건부 서식- 엑셀 전체 행 강조 (새 규칙으로 수식 직접 입력하기) (0) 2024.05.01 27강 엑셀 보고서 5가지 규칙 (오른쪽 정렬, 천단위 구분 기호, 단위 표시, 들여쓰기, 세로선은 필요한 곳만) (1) 2024.04.10 26강 직장인이 꼭 알아야 할 엑셀 서식 4가지 (0) 2024.04.03 25강) 액셀 셀 서식(#,##0과 ;(세미콜론)) (0) 2024.04.03